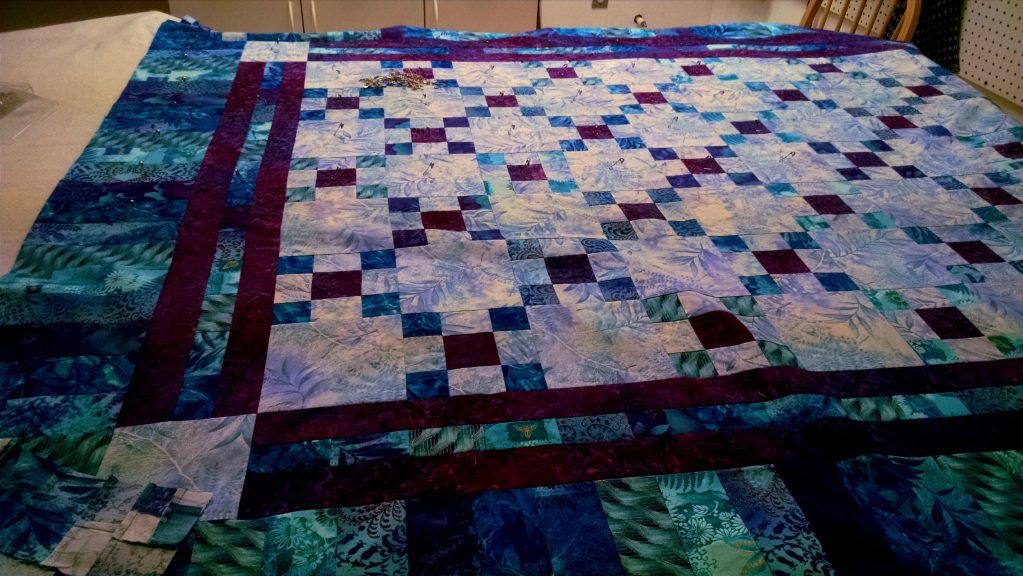
So, you want to start quilting. Congratulations! Welcome to a very addicting…I mean rewarding past time. You will learn what it means to sew with love. It is an art form, as well as, a way of providing warmth to our loved ones or adding that personal homey feel to our homes or even remembering someone far away. We see quilts on beds in a lot of movies and mass produced quilts in stores – but they are not like the quilts you make at home. Nothing can compare to a nice, well-made quilt.
For this guide, I will introduce you to machine piecing and quilting. Hand piecing and quilting requires a slightly different set of tools. You can machine piece and hand quilt. Yes, piecing and quilting are just 2 of 7 different phases to making your own quilts. The 7 phases in quilting are: (1) quilt design/pattern selection, (2) fabric selection, (3) cutting, (4) piecing, (5) layering and basting, (6) quilting and (7) binding.
Phase 1: Picking the overall quilt pattern.
You can plan a trip to any quilt store and find patterns for quilts. Also, you can grab some grid paper and a writing utensil (or in my case, a whole hand full of colored markers of pencils). For this series I will provide you with 2 traditional quilt blocks and we will make pot holders! First quilts should be small. Understand the process first then branch out with complexity.
- Quilt pattern (I will provide this for this series.)
Phase 2: Selecting the fabric.

Squeals!!!! Fabric shopping!!! Ok, now that we got that out of the way. When you go to select fabric be sure to stick to the quilting cottons, for now.
- 100% Cotton Fabric
Phase 3: Cutting the fabric

Cutting the fabric requires accuracy that scissors do not provide.
- Rotary cutter (45mm or 60mm with retractable, locking blade for safety)
- Gridded self-healing cutting mat 24″ x 36″ or 36″ x 48″
- Ruler (6.5″ x 24.5″ to start with – eventually you will add more as your skill and desire for complexity grows.)
Phase 4: Piecing the quilt top

Piecing the quilt top is when everything begins to come together. Quilting is the art of cutting fabric to put it all back together into a beautiful masterpiece. When you are done with this phase, you will have a completed quilt top.
- Sewing machine
- 100% cotton thread (Most quilters stick to a basic neutral grey. It hides well with both light and dark fabrics.)
Phase 5: Layering and basting

Layering and basting is when all the parts except the binding come together.
- Curved safety pins
- Batting (For this project I recommend using Insul-Bright or 100% cotton. Normally, I do not baste pot holders – but this is beginning quilting. 🙂 )
- Basting tool (optional – saves the fingers on larger quilts)
Phase 6: Quilting

Quilting is the final design step to quilting.
- Cotton thread that matches (does not have to blend) with you quilt top and quilt backing.
- Sewing machine
Phase 7: Binding
Binding is the final step. It applies a finished edge to the quilt. You will learn the traditional double-fold method for binding.
- Cotton thread
- Quilting Needle
- Thimble (optional but saves the fingers ?)
Happy Quilting!
N
NOTE: This site provides general educational information on various topics on this website as a public service please see the Site Disclaimer for more information: Site Disclaimer. View the Privacy Policy to see what information this site collects. Some posts have affiliate links. If you click one and make a purchase, I earn a small commission at no extra cost to you. See the Affiliate Marking for more information.
